Date: 14.05.2002
Author: Janne Ropponen (aka Kuvaweopu)
|
Building an AdLib Digisnap Date: 14.05.2002 Author: Janne Ropponen (aka Kuvaweopu) |
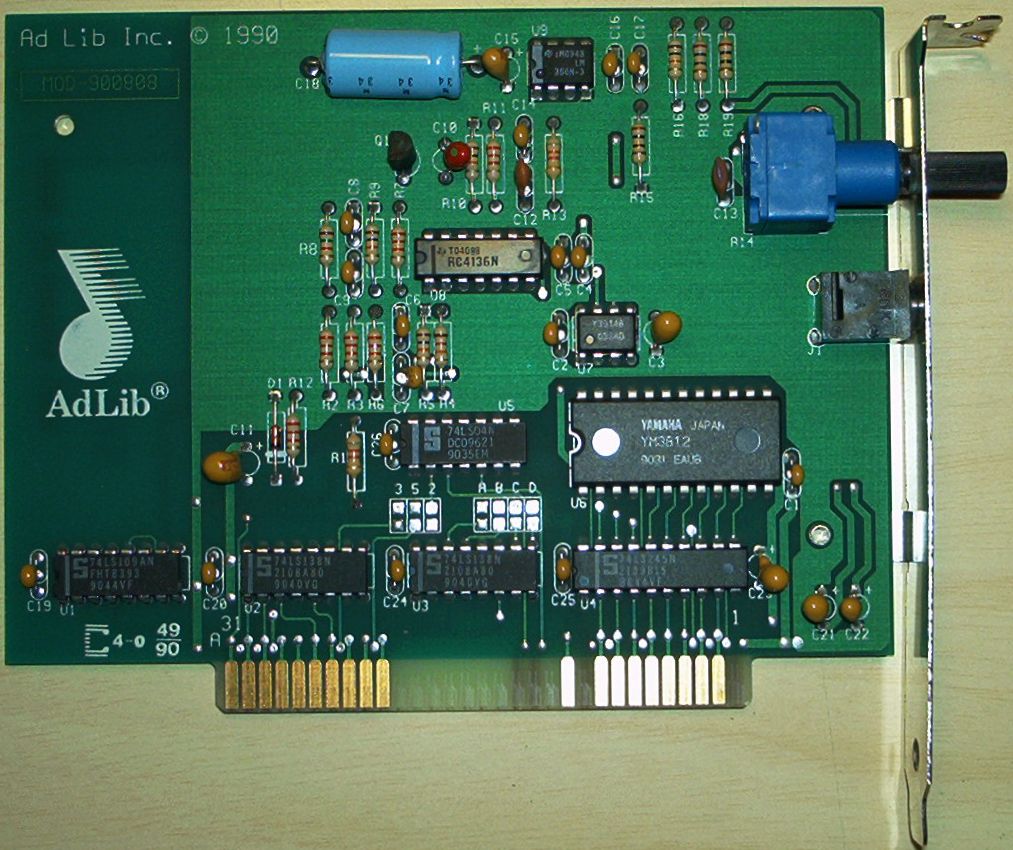 | |
| AdLib sound card. Click for a close-up. |
For those who don't know what an AdLib sound card is, I'll be brief: It is the first affordable sound solution for the PC users over the classic 'beeper'. It was introduced in the late '80s and is capable of outputting polyphonic sound using a method known as FM-synthesis. The heart of the card is the Yamaha OPL2 chip. Later the (now world famous) Sound Blaster card added to the popularity of AdLib by being fully backwards compatible with it, adding only a capability to record and play digitized (sampled) sound.
It took me one and a half years from the idea to finally building the Digisnap device in February 2002. I had to buy some equipment as I've only done minor solder-this-wire-to-that like jobs before. I needed things like
|
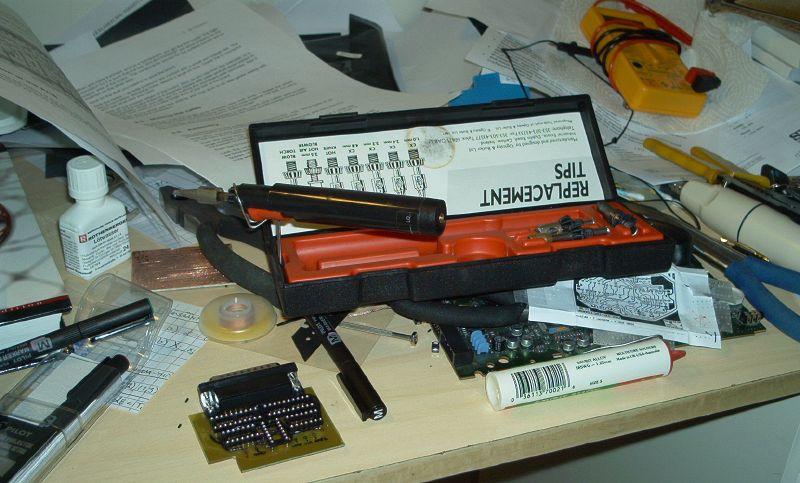 |
| My workspace. Click the picture to zoom. |
I did have the basics like a nice Portasol Professional portable soldering iron (uses butane gas), solder, various wires and a digital camera to document the process. :) I also had to buy the necessary components like logic circuits and connectors as I didn't have that kind of things in my cabinet. Luckily I had some surface-mounted capacitors taken from old x86 hardware in store so I didn't have to buy those. I had also various versions of the Sound Blaster card in my cabinet but none that had external DACs needed in the project from where the digital signal is extracted. Therefore I acquired an old, original AdLib sound card for a modest price of about 3 euros (hail the usenet newsgroups!).
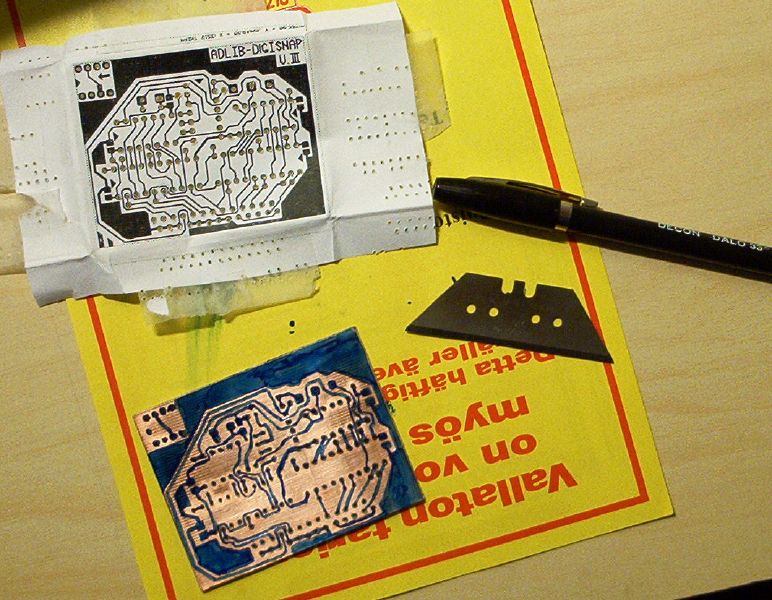 | |
| The drilled circuit board with tracks drawn using a Dalo pen. | |
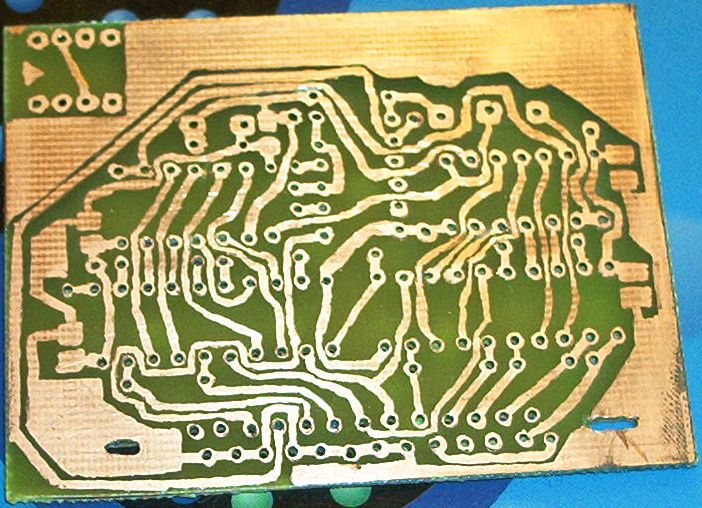 | |
| The circuit board after etching and cleaning with acetone. |
Then it was time to etch the circuit board using ferric chloride. I dissolved as much of the stuff in a couple of desiliters of water as I could (keeping it in a plastic container). Then I make "lifters" using some plastic tape so that I could lower and raise the circuit board to the solution. At this point I had to be extra careful with the ferric chloride as the thing is pretty messy and sticks to everything it is spilled on. Then I put the board in the acid and went to watch some MacGyver from the TV (fits the theme, doesn't it! :). Raising and lowering the board a few times during the etching (to speed up the process and make it more uniform) I waited for about a twenty minutes and then took the board out of the solvent. It was pretty nice job at that point. I carefully washed the board under running water and then cleaned the Dalo pen tracks with a piece of clean cloth and acetone.
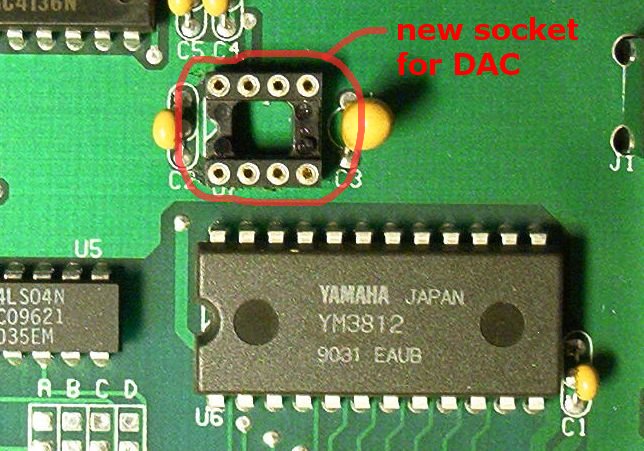
The fun part was up: soldering! I started with the surface mount capacitors, then the IC sockets and jump wires and finally proceeded to solder the D-connector. At this point I took a closer look of the AdLib sound card and noticed that the DAC is soldered directly to the board. So I desoldered the DAC, soldered an IC socket in place of it and put the DAC back. Surprisingly, the card actually still worked after this operation! I made the soundcard end connector by soldering the cable wires directly to the pins of an empty IC socket which could then be inserted to the DAC socket on the AdLib card, and the DAC put topmost to the new socket. The wires were then soldered to the otherwise finished Digisnap device. I made the cable about two meters long and strapped the individual wires together with plastics straps. At this point I double and triple checked all the solder points and connections for shorts using a digital multimeter. Everything was looking good!
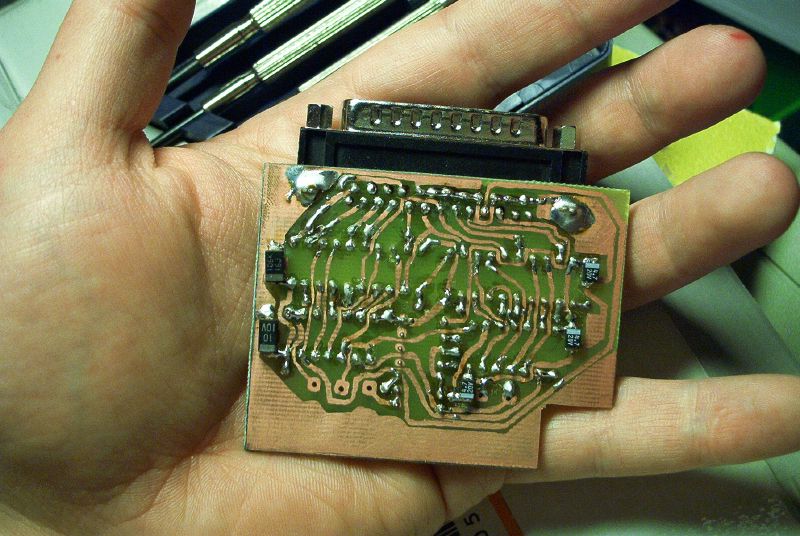 |
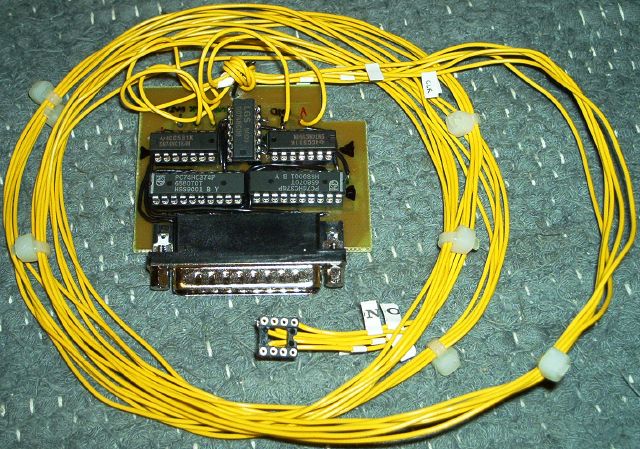 | |
| Finished product (short of the cable wires) - solder side. | AdLib Digisnap fully assembled! |
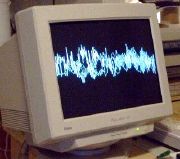
Now it was time to connect the digisnap to my computer to test it. I downloaded the digisnapping software and installed the device on a Epox MVP3G2 mainboard which had a K6-III processor and 128 MB memory. Of course in DOS only 32 MB could be used. The AdLib sound card was in a 486/150 MHz (overclocked AMD 5x86/133 MHz) machine. I installed the digisnap to the printer port, the other end to the AdLib card, crossed my fingers and turned on both computers.... No smoke anywhere and both booted up. Whoa! Now it was time to try digisnapping something. I put some music playing on the AdLib card and fired up READER.EXE, the program used for recording digital music from the digisnap hardware. But - nothing happened. :( After some thinking I played around with the BIOS settings for the printer port (ECP/EPP) and started up a clean MS-DOS 6.2 (F5 at boot). After this the reader program apparently worked as I got beautiful oscilloscope picture moving to the beat of the music! At this point I was quite ecstatic and congratulated myself for a job well done.
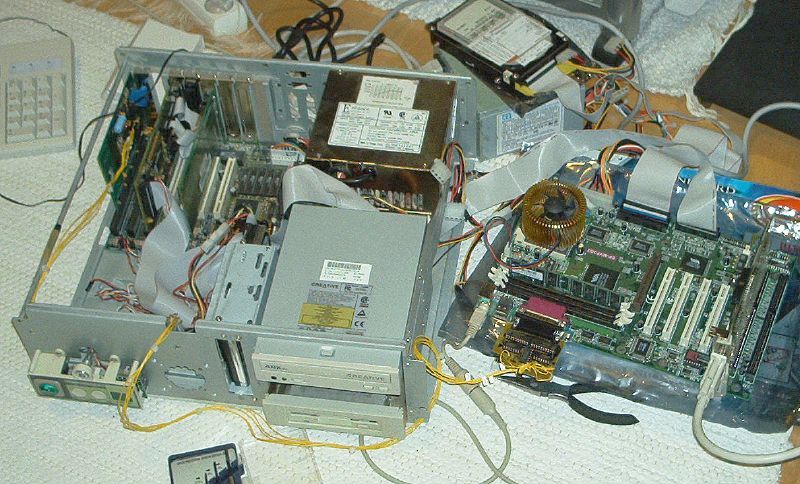 |
| The two computers used for playing and recording. |
The reader program can record about 9 minutes of digital music at a time which it then saves to the hard drive in raw signed, 16 bit, little-endian, mono, 49716 Hz format. The frequency is approximate and determined by the clock on the AdLib card. I had a 6 GB hard disk connected to the recording computer so I could save quite a lot of music with it. I then proceeded to recording musics from my all time favorites like Dune, Sierra games, Continuum, Loom, Bubble Bobble, Whale's Voyage, Wolfenstein 3D and more. In the end I came up with about 1.5 GB of raw recordings which still needed to be edited and converted into some comprehensible format.
I copied all the digisnapped files to my primary Duron 750 MHz computer with enough (60 GB) HDD space for processing the raw audio files. I mainly used the excellent program Goldwave for all processing, this truly is a very usable, fast and feature-rich audio editing program. First I clipped the excess data from the beginning and end of each digisnapped file and in some cases added fade-in and fade-out to the files. After all this I had 1.3 GB of "original" audio data from the digisnap. I burned all these files to CD-R dics in the case I need them again in the future. The rest of the editing was easy, all that needed to be done was to normalize the audio and convert the data to 44100 Hz, 16-bit for easy post-processing to mp3s and such. I don't know if Goldwave's sample-rate conversion is very advanced but I couldn't hear any difference compared to the original (though my SB Live forcefully converts everything to 48kHz thus degrading quality). Here is a sample of digisnapped music (the F1 GP main title) in OGG format.
Building and using the digisnap was an extremely fun project for me. Now I finally have the best musics of the AdLib world saved with the best possible quality and I can listen to those nice pieces over and over again easily with modern hardware and even my CD-player. I also learned quite a lot about making circuit boards and will be a lot more confident when making the next one. Very, very much thanks to Olli Niemitalo for making this possible by designing the wonderful Digisnap device. Now, if we only could get a stereo version for the SB Pro... ;-)
| This page has been accessed | times. |