Mercedes-Benz R170
|
|
|
This story illustrates, how to install ForMyMercedes.com U shape roll bars to a 2001 SLK230 Kompressor.
|
|
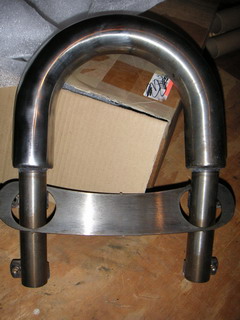
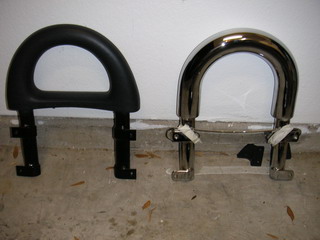
I got my U shape roll bars in a deal. They were not have any finishing. Since buffing did not give a polished enough finish for the steel (with a reasonable amount of work), I decided to chrome them.
|
|
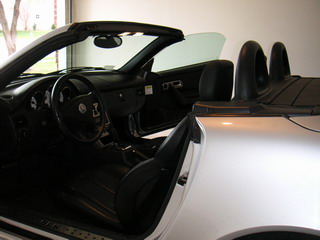
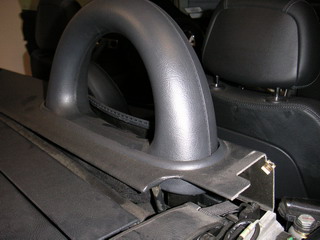
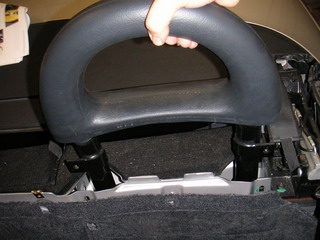
Before starting the work, please notice that the stock roll bars lean a little forward.
|
|
It is a good idea to take the top down and move seats to the very front position.
|
|
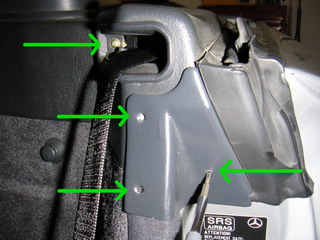
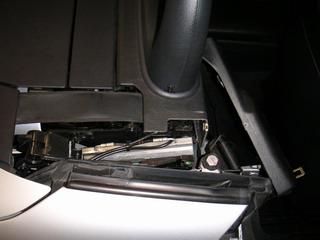
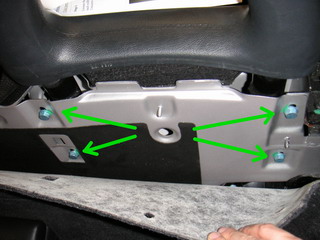
Next, we have to remove those elements, from which the seat belts run through. First, use a small torx screwdriver (smaller than what I have ever seen in a Mercedes) to remove the three screws that hold the metal plate. Then use a magnetic screwdriver to open the philips screw, which is in the seatbelt hole. Do not drop this screw, or you will never get it back!
|

|
Remove the metal plate.
|
|
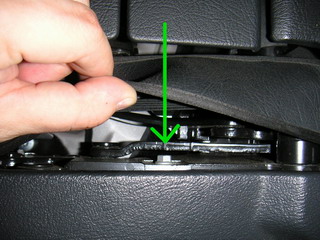
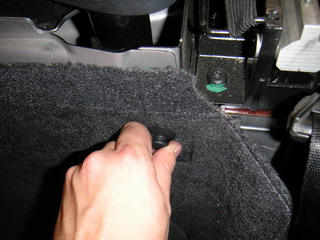
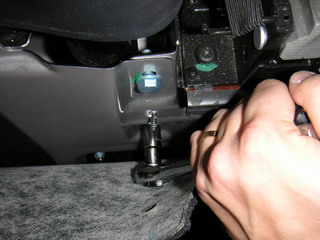
Next, let's move to the "hat shelf". Move the "cloth", and you will see a 8 mm bolt. Open the bolt carefully. Do not drop this either, because this is yet another "or you will never get it back" -type-of part.
|
|
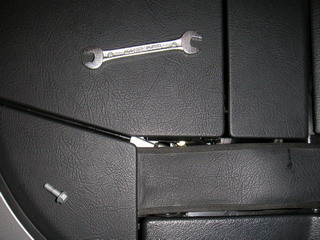
This is what the bolt looks like.
|
|
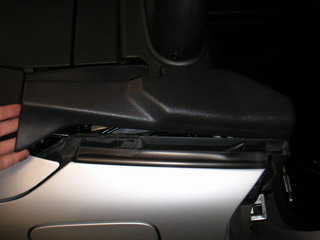
Now you can lift the liner from the rear up...
|
|
...and forward.
|
|
If you have had the stock windblocker, your stock roll bars have hooks for the windblocker.
|
|
We will need to remove them.
|
|
Now we will move back to the cabin. If you had the stock wind blocker, there are two more hooks in the cabin wall. They are screws. Remove them.
|
|
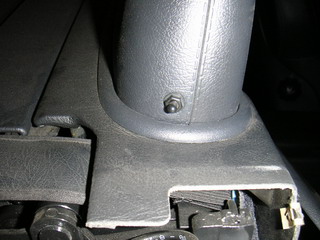
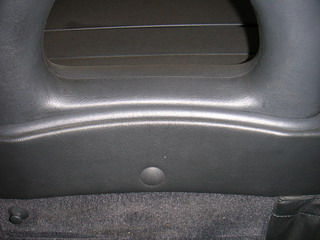
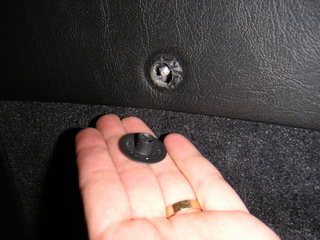
Behind the seats, right down from the roll bars, there is a plastic cap. It is actually a screw. Open it.
|
|
The screws look like this.
|
|
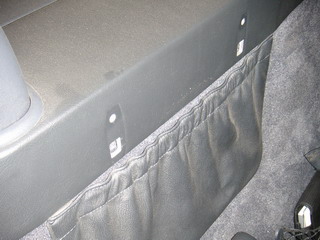
Remove the hangers...
|
|
...and the map pocket too. The map pocket is easy to remove. It has hook-like feet.
|
|
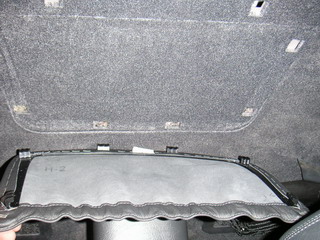
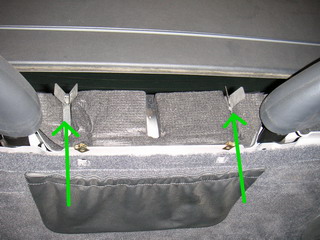
Now we are ready to remove the liner around the roll bars.
|
|
|
Lift it up carefully.
|
|
It is held by two hooks between the roll bars.
|
|
As soon as we have removed the liner, we will have access to the roll bar bolts behind the cabing wall carpet.
|
|
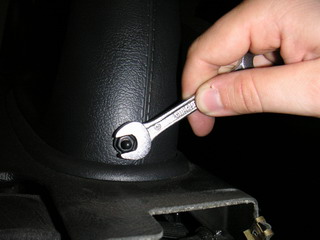
Each bar has four bolts. Open them using a wrench. They will be tight, because SLK roll bars are not a cosmetic element only.
|
|
Lift the roll bar up to remove it.
|
|
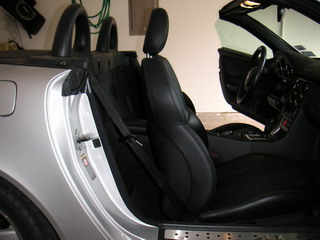
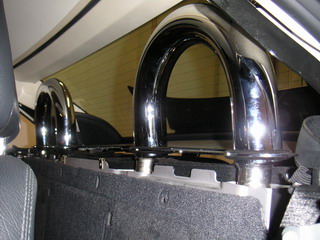
Now, we are 50% done. Chrome is so much more beautiful than the original back rubber...
|

|
In the ForMyMercedes.com roll bar package, there are four rubber seals. We need to place them around the hole in the plate. This is not very easy, and an extra pair of hands can be useful here.
|
|
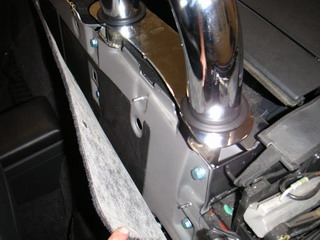
As soon as we have the seals in place, lift the plate as high as possible. This will be useful later on. And let's place the chrome roll bars to the holes where we took the stock bars.
|
|
Put the bolts to their places, lift the roll bar as up, as much as possible. Fasten the bolts, but not with full power.
|
|
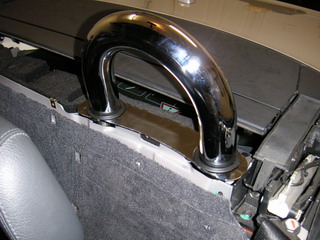
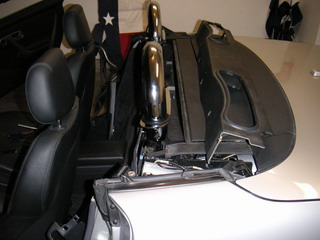
The reason why we do not want to have the bar bolts very tight yet is that it is a good idea to verify that they do not touch to the rear window. Close the top carefully, and make sure there is a gap between the bars and the window.
|
|
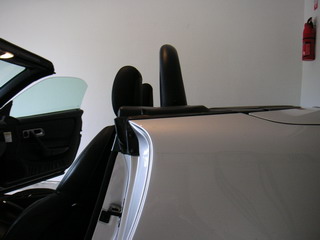
As soon as we know that the bars do not break the rear window, let's tighten the roll bar bolts with full power. Notice that the crome bars will be leaning slightly forward, like the stock bars.
|
|
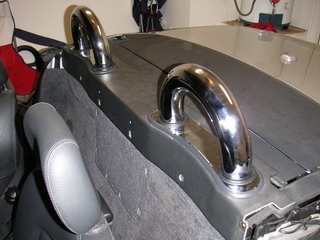
Verify that the roll bar plates align nicely with roll bar holes in the liner.
|
|
|
Push the liner (and plates) down, and snap it to the hook in the middle.
|
|
Put everything back together again, and that's it!
|
|
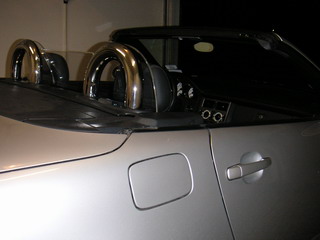
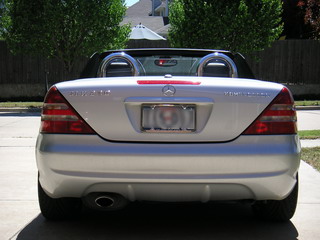
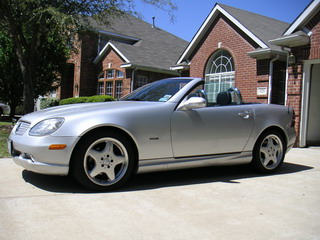
Next morning, you will have something like this waiting for you in your garage!
|
|
Time to test-drive!
|
[Back]