Mercedes-Benz R170
|
|
|
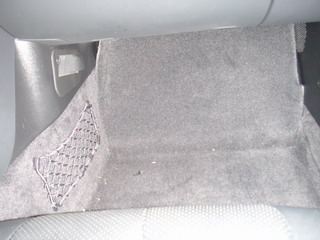
This story illustrates, how to install a Nokia CK-1W hands free car kit to a 2001 SLK230 Kompressor. We will start with speaker wiring. This work starts by removing the passenger side floor carpet.
|
|
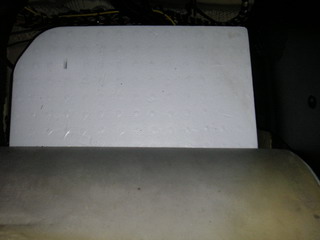
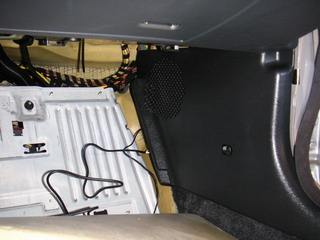
Under the carpet, you find a white panel. Remove this, and the panel with holes on it, which is on the "roof" of the footwell, hiding the air filter.
|
|
Turn the air nozzle plastic screw 90 degrees counterclockwise, and pull the air nozzle out.
|
|
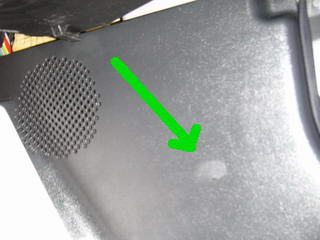
Under the air nozzle, you find a screw. Open it and remove the panel. Removing the panel is a bit tricky. There are hooks around the air vent, which keep the panel on its place. But don't worry, it is removable and there are no extra screws!
|
|
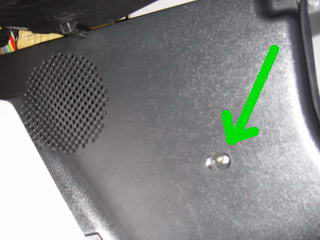
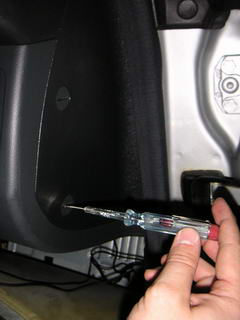
There is a cap in the middle of the door side panel. Use a small flathead screwdriver to remove it.
|
|
Open the screw under the cap. Remove the door seal next to the panel. You can simply pull it off. Notice that there is a hook under the door seal. Be careful with it! Remove the panel from the hook and take it out.
|
|
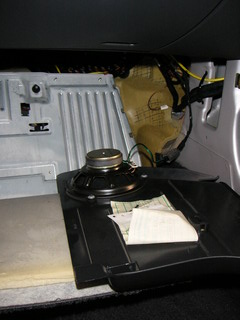
Notice that there is an original Mercedes car kit speaker mounted to the panel. Cut the speaker wires...
|
|
Take the Nokia hands-free speaker, and take the speaker cable from it. Connect the Nokia cable to the Mercedesspeaker.
|
|
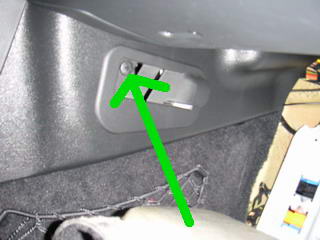
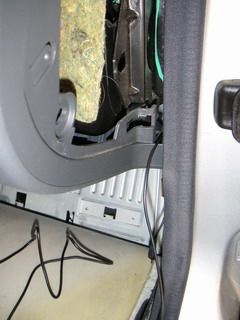
Next, we will do the wiring for the hands free microphone. There is a door in the very end of the dashboard. Open it.
|
|
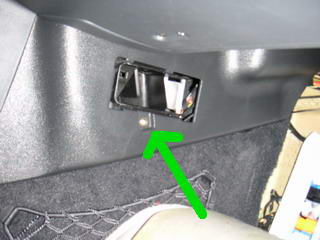
Take the Nokia microphone cable, and route it through the door to passenger side foot-well.
|
|
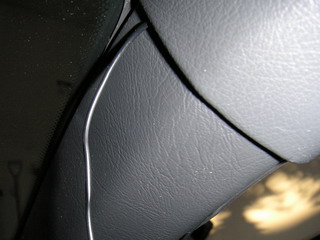
Route the cable to the top of the windshield, placing it under the door seal and window frame. You can simply push it to these places using a small flathead screwdriver, carefully.
|
|
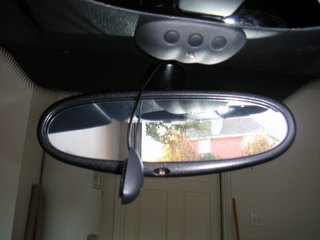
Route the microphone cable to the rear view mirror, but do not mount it yet.
|
|
Optimize the microphone cable routing, and speaker wire routing. Put the "speaker panel" and door seal back to their places. Close the door in dashboard, and we are done with speaker and microphone wiring!
|
|
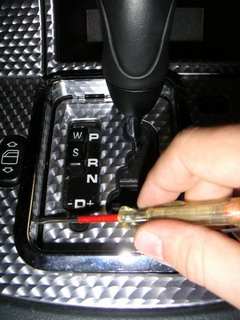
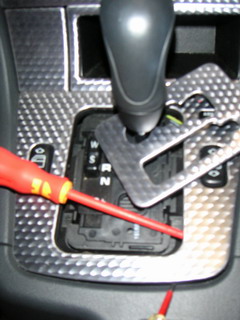
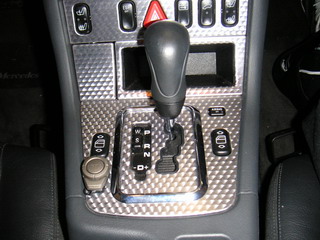
Next, we will install the control button. We will place it next to the gear shift. In this work, we need to open the center console. Take a small flathead screwdriver, and remove the gear shift frame. The frame has four hooks. Two of them are in the front and two of them are in the rear.
|
|
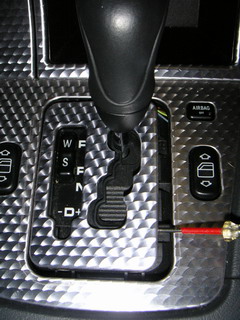
After having removed the frame, let's remove the panel. You can use the same flathead screwdriver, which you used when removing the frame. The panel has four plastic hooks. Two of them are on the left and two of them are on the right.
|
|
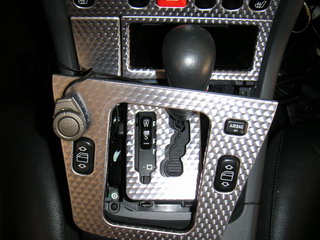
Like this!
|
|
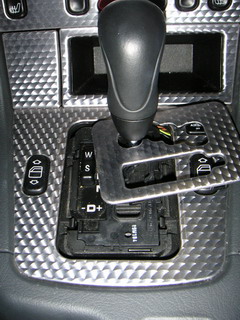
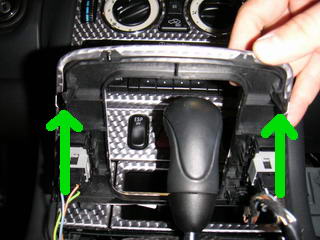
Now we are ready to move to removing the center console panel. Take a bigger screwdriver or a wedge, and pop the panel up as shown in the picture.
|
|
The panel has plastic hooks on sides on the rear. In the front there is a lip, which holds it under the storage boxes.
|
|
Now we can do the wiring for the control button. It is quite easy to bring the cable from the center console to the passenger side.
|

|
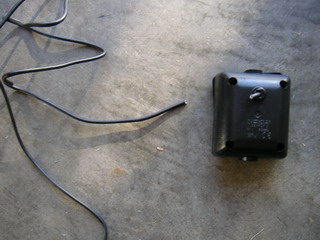
Now it is time to connect the Bluetooth unit. Tap the Bluetooth unit to the cables in the center console as follows: Brown = Ground. Pink w/ yellow stripe & green dots = 12V ignition. A thick red w/ green stripe = 12V constant. MB Audio 30 radio does not support telephone muting. Because of this, I left the telephone mute disconnected.
|
|
Connect the control button, speaker and microphone to the Bluetooth unit and test your installation. If you still want to have an automatic mute, you can buy a muting module or use a relay for each channel to mute the audio. Instructions how to do this can be found in Mercedes-Benz forums in the Internet.
|
|
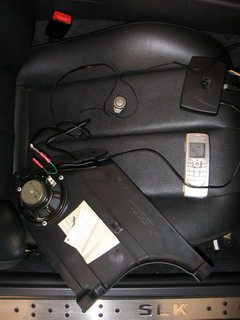
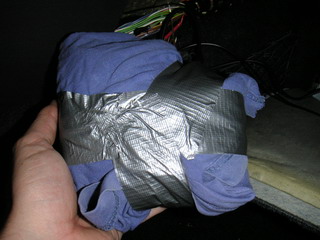
We are working on a Mercedes. Because of this, we do not want to add any extra noises to the car. It can be a good idea to wrap the Bluetooth unit and cables into bubble or an old shirt. And some duck tape - of course.
|
|
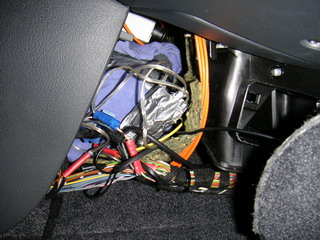
Place the Bluetooth unit into the center console, and place all liners and panels, which you have still laying around.
|
|
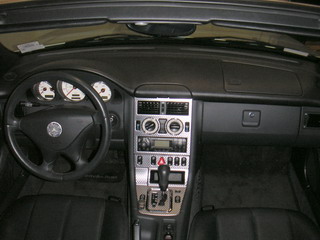
Place the control button and microphone to their final places, and close the center console panel.
|
|
That's it!
|
[Back]